First, you need to access the console of your Cisco Switch.
In our example, we are going to use an Opensource software named Putty and a computer running Windows.
The Putty software is available on the putty.org website.
After finishing the download, run the software and wait for the following screen.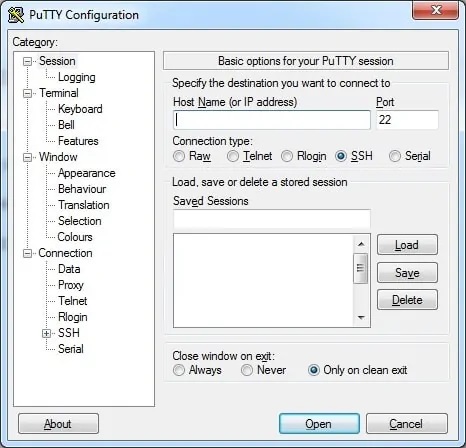
To access the console of a Cisco Switch model 2960 or 3750, you will need to select the Serial Connection category and use the following options:
• Connection type: Serial
• Serial line: COM1
• Speed: 9600
If COM1 does not work you will need to try to use COM2, COM3, COM4 or the next.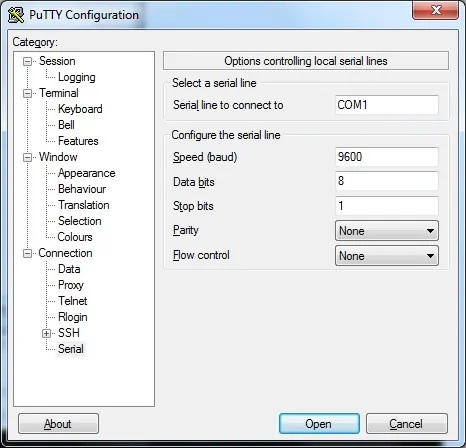
Using either the console, telnet or ssh, connect to the command-line of your switch and log in with a user who has administrative privileges.
On the prompt screen, enter the administrative login information.
After a successful login, the console command-line will be displayed.
Switch>
Use the enable command to enter the privilege mode.
Switch> enable
Use the configure terminal command to enter the configuration mode.
Switch# configure terminal
Create a new vlan, select an identification number and add a brief description.
Switch(config)# vlan 100
Switch(config-vlan)# name Voip Network
Switch(config)# vlan 200
Switch(config-vlan)# name Data Network
Switch(config-vlan)# exit
On the configuration mode, you need to clear all the configuration from the switch port.
Switch(config)# default interface gigabitEthernet 0/21
Switch(config-if)# default interface gigabitEthernet 0/22
On the configuration mode, add the switch ports to a link aggregation group.
Switch(config)# interface gigabitethernet0/21
Switch(config-if)# channel-group 1 mode active
Switch(config)# interface gigabitethernet0/22
Switch(config-if)# channel-group 1 mode active
Switch(config-if)# exit
In our example, the switch ports 21 and 22 were configured as members of the link aggregation group 1.
To configure the link aggregation ports as a Vlan member, you need to use the following commands.
Switch(config)# interface Port-channel 1
Switch(config)# switchport mode access
Switch(config-if)# switchport access vlan 200
Switch(config-if)# exit
Switch(config)# exit
In our example, the Switch port group 1 was configured as a member of VLAN 200.
To configure the link aggregation ports as a Trunk, you need to use the following commands.
Switch(config)# interface Port-channel 1
Switch(config)# switchport mode trunk
Switch(config-if)# switchport trunk native vlan 1
Switch(config-if)# switchport trunk allowed vlan add 1,100,200
Switch(config-if)# exit
In our example, the Switch port group 1 was configured as a trunk.
The trunk configuration allows the communications of Vlans 1, 100 and 200.
Don’t forget to save your switch configuration.
Switch# copy running-config startup-config
You have successfully configured a link aggregation on a Cisco switch 🙂